The last of the appendages for the MG Full Armor Gundam take shape in this episode of Gunpla TV. Thanks to some innovative design the 2.0 frame of the Full Armor Gundam is extremely articulate, highly posable and able to combine with the MG G-Fighter!
In this episode:
– 1/100 MG Full Armor Gundam
– MG G-Fighter
– HGUC RGM-79C GM Custom
– Tamiya Straight Tweezers
– Bandai GD-12 Guncannon Decal
Links:
– Painting & Weathering : Gundam RX-78-2 Shield
– Build : MG Wing Gundam #3
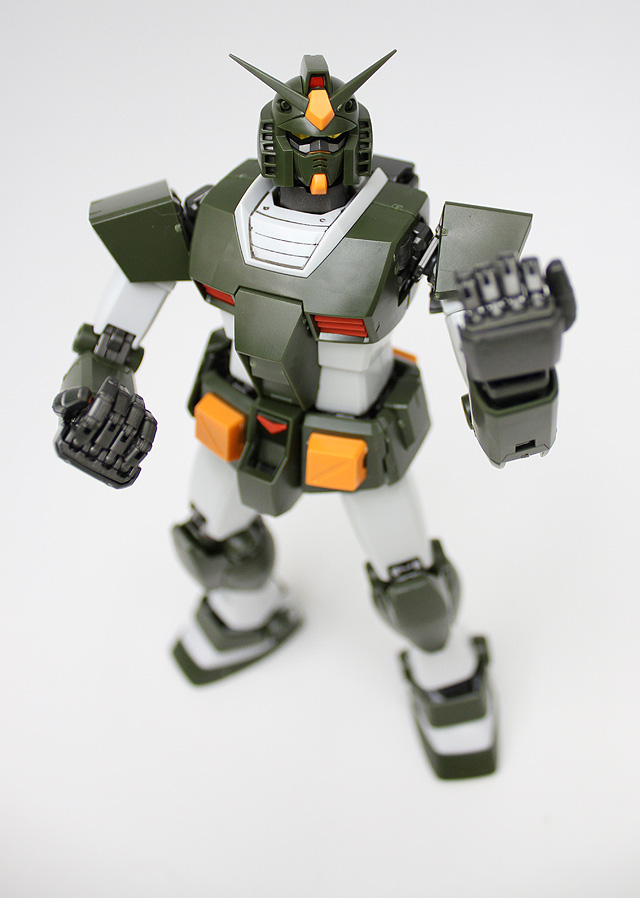
Here he is without his Full Armor which will be going on next!


spikesagitta
cool! thanks for the informative episode on decals, i haven’t used them on my kits yet, think i will change that now, thanks again!
karl
Great episode!
Question for a later ep: can you explain the different types of topcoats and why/how they’re used?
Shinra
Is HLJ ever going to start shipping Mr. Hobby Topcoat again? If not, what’s a good alternative that I can get online or in the United States?
Thanks!
George
I think you’re really doing the ver. Ka frame a disservice in this review. When you show the knee joint, you’re bending it 90 degrees – but on Dalong, the photos there demonstrate that the knee joint (with armor on) can bend about 130 degrees. The Ver. Ka leg frame was based on the MG Gundam v1.5 leg frame, which was one of the earliest examples of a highly poseable inner frame in the MG line. The MG Gundam v1.5 knee could bend every bit as far as the knee of the MG Gundam v2.0. Other joints on the v1.5 were less impressive, of course, especially those held over from the MG Gundam v1.0… The v1.5 leg frame and armor design were even reused four years later for the MG Gundam v.OYW, which is nearly as poseable as the Gundam v2.0, and arguably better looking as well. 🙂
The main reason the Ver. Ka had less range in the knee is because of differences in the armor design – the Ver. Ka is built for looks even at the expense of poseability in some areas. It’s true that the older MG Gundam kits don’t have the same level of mobility as the v2.0, and the ver.Ka is probably the best overall kit from 2002 and earlier – but for “Master Grade Gundams prior to v2.0” something like the v.OYW or Perfect Gundam would actually measure up reasonably well.
KL
Many thanks Syd and everyone in hobby link on this great tutorials 🙂 Looking forward to applying my decal with Mr. Mark Softer.
By the way, what Japanese martial arts are you learning in Japan?
Kamm
Hey Syd,
First off, thank you for making this series on HLJ! Its fantastic and I seem to find myself being impatient waiting for the next episode!
My question to you is, after viewing ep 10 you didn’t mention dry transfer decals, what are your do’s and dont’s for these and if you have any helpful tips I would appreciate it!
Keep up the great work, cant wait to see more.
Kamm
Yuri Barbosa Ordeste
Great tips for decals, I screw up with some decals :p. I never used waterslide, but seeing now they really look very good!
Syd
Thanks for the comments everyone! We’re glad to see everyone is enjoying the series so far. We will try to answer some of your questions in upcoming episodes so stay tuned. George, you are correct about there being slightly more articulation to the Ver. Ka kit than was shown in the video, however, to get that knee to bend that extra few degrees the armor on the back of the upper leg rubs against the armor on the back of the lower leg. If you have painted, topcoated, or decaled you will run the risk of having that scratched off. In fact, I bent the knee to the limit of its range when we were shooting video (didn’t make the cut) and scratched off part of a decal.
Gordon
Hi, I am truely enjoying your episodes. I haven’t played with gunpla in years, but I just can’t help but watch these episodes! I’m even about to order my first kit in years because of this series. Thanks for putting on an amazing program.
Evan
I believe Microsol and Microset are pretty much the same as Mark setter and softer, correct?
George
There are different brands of decal setter and solvent that do basically the same thing, yes. Personally I haven’t used the different varieties enough to say how they compare. At one point I got the impression that the Micro-sol types were a bit weak, so I’ve been trying Solvaset and Mr. Mark Softer to try and see if they’re really better…
Yami
Is there any reason to use Mark Setter and Mark Softer instead of Topcoat spray when it comes to decalling?
Syd
Topcoat is always a good idea. It will protect your decals and/or paint. If you handle your kits often after they are built then you want to protect them. However, I have in the past gone back to a kit and applied extra decals after I had sprayed topcoat. Rather than topcoat again, I just used Mark Softer to secure the decals.
hector
were can i buy the decal mark seter and softer?