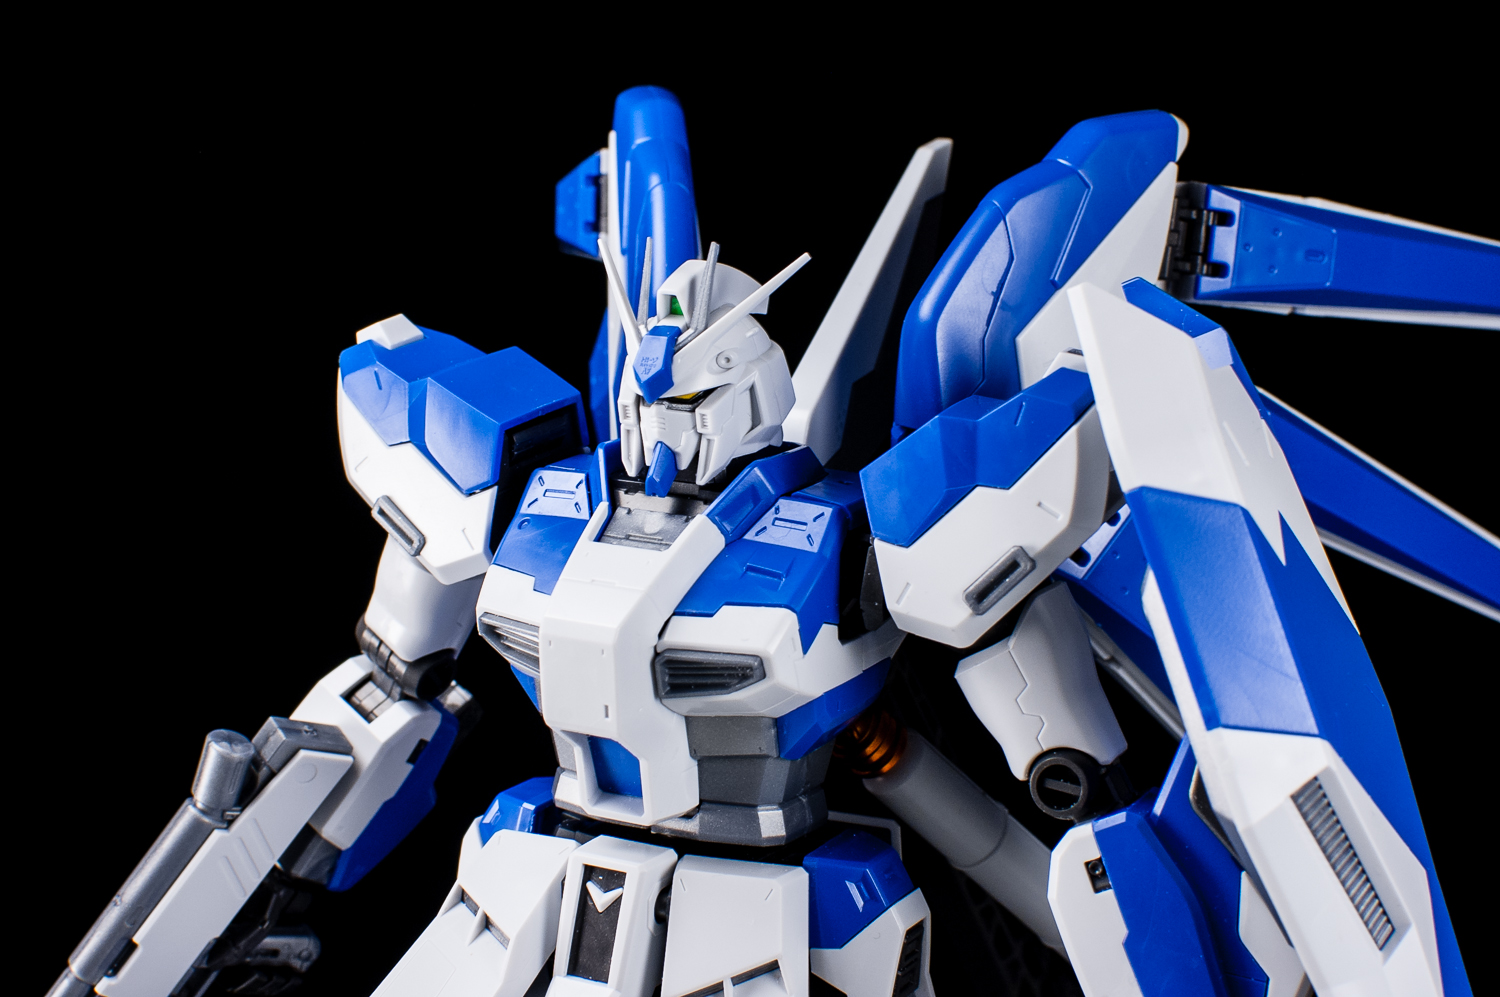
1/100 MG Hi-Nu Gundam by Bandai is available at HobbyLink Japan Hlj.com.
Paint — though it’s seldom necessary to complete a gundam model, many of us consider it a necessity to some degree. Even my ten-year-old self knew this ever since I built my first kit. The sheer gap between the that SD Gundam kit I snapped together and the photos printed on the side of the box was disheartening, to say the least.
However, it’s been a long time since the 90’s, and since then Bandai has made a big effort in trying to get its gunpla lines as close to 100% colour separation as reasonably possible. We’ve seen this for a long time in the Master Grade line, and many High Grade models these days are practically completely colour-accurate.
Clearly Bandai wants to open up the hobby to a wider audience who might not have access to the time and resources required to fully paint a model kit. While a there’s no substitute for the look of a well-painted model and the satisfaction of accomplishing it with your own hands, a few simple steps can turn a straight snap build into something that looks a lot more impressive.
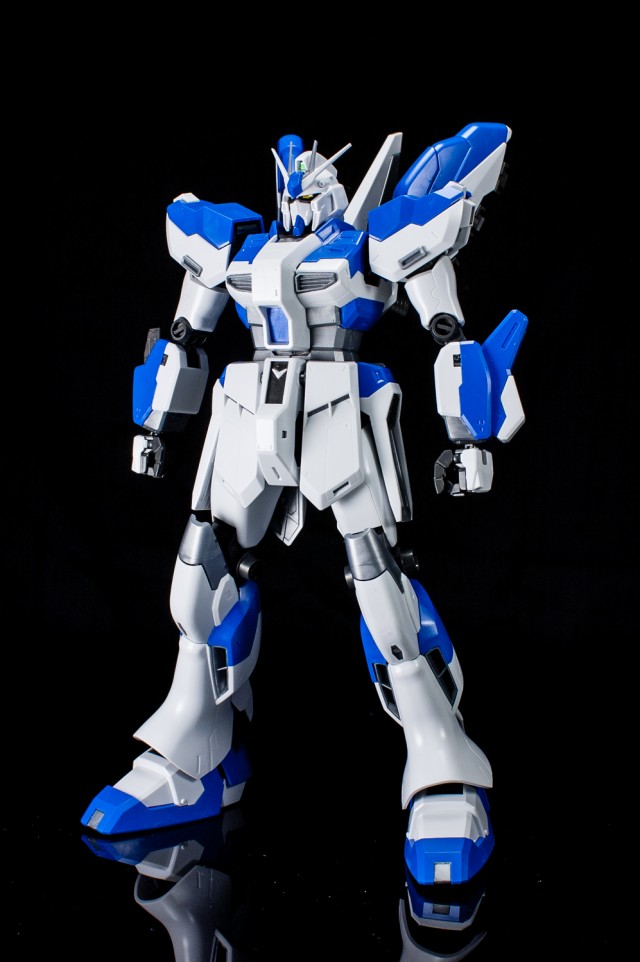
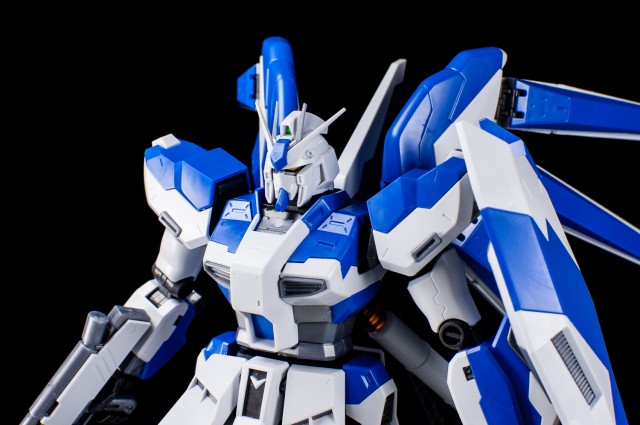
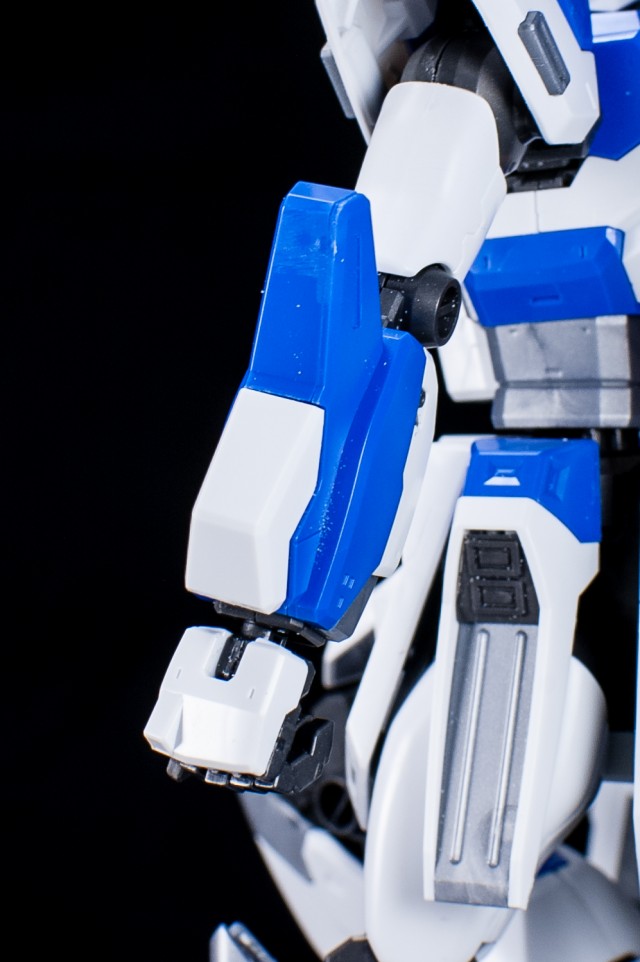
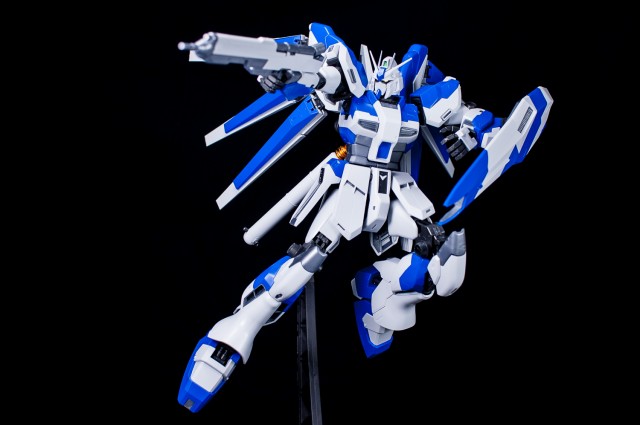
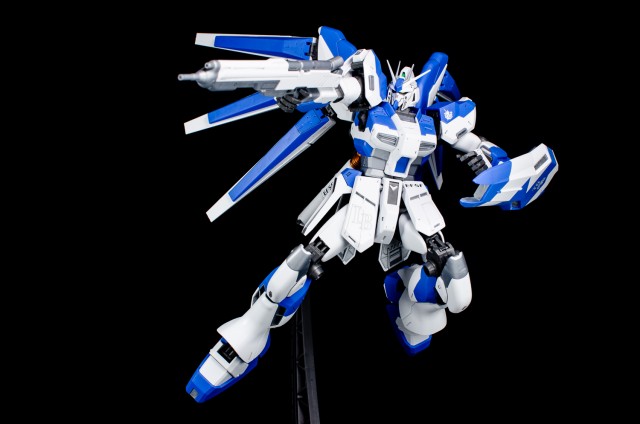
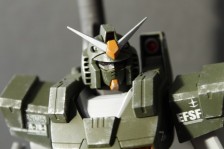
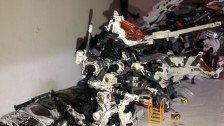
Before
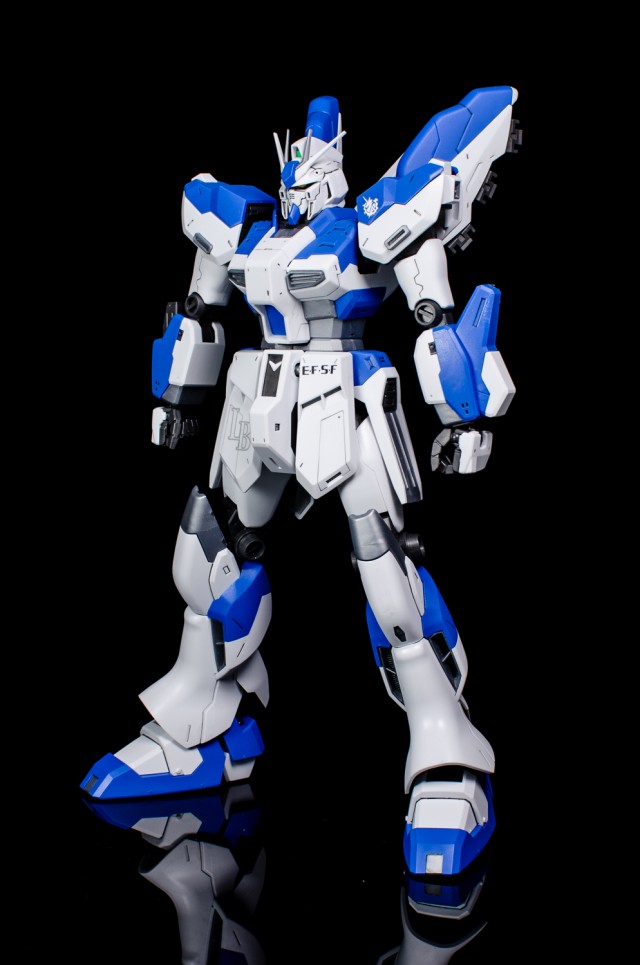
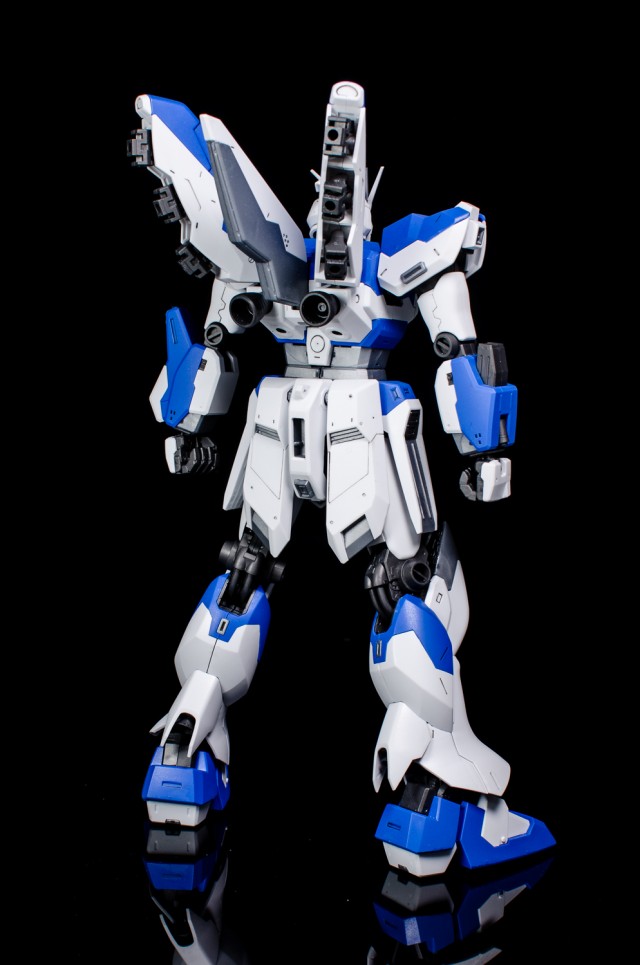
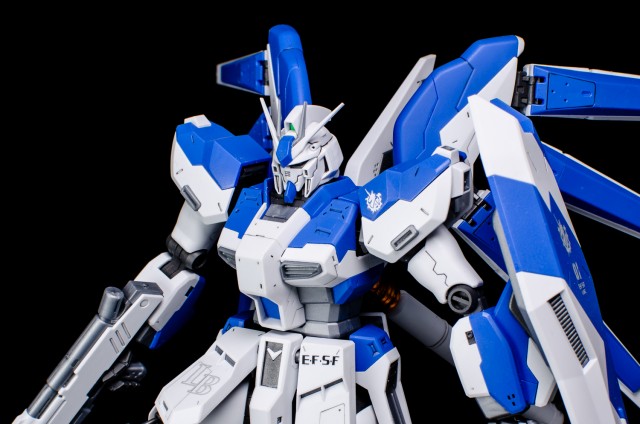
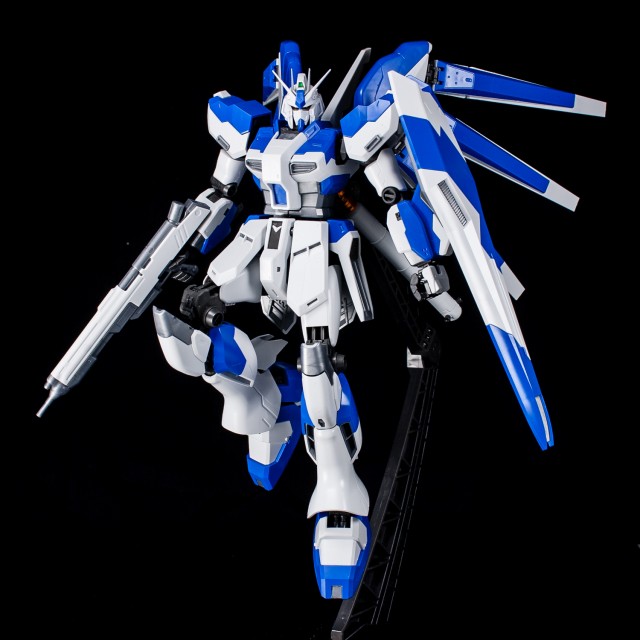
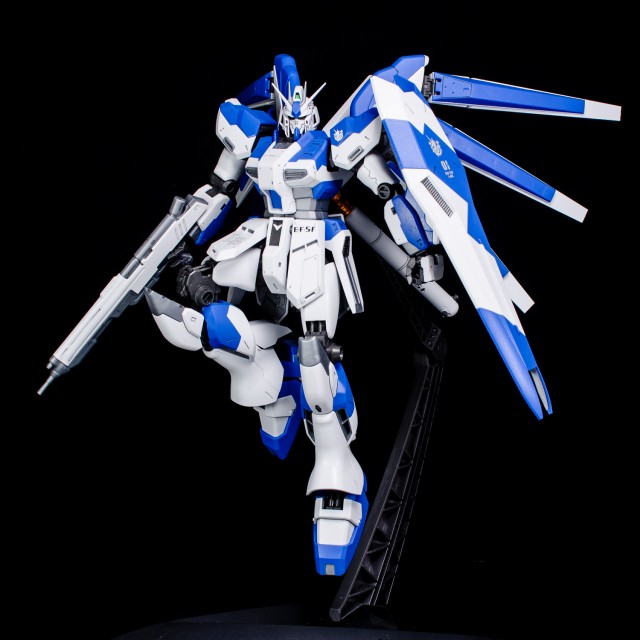
After
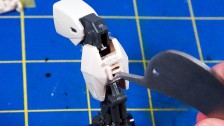
Most newcomers to the hobby know about the importance of panel lining to gundam models, but I find that too many are defaulting to the official gundam panel line marker, as did I when I first started to detail my models. I immediately noticed that the tip of these markers is really thick — not only are the lines overly conspicuous on the corner edges, but the tip is too thick to reach into the smaller grooves.

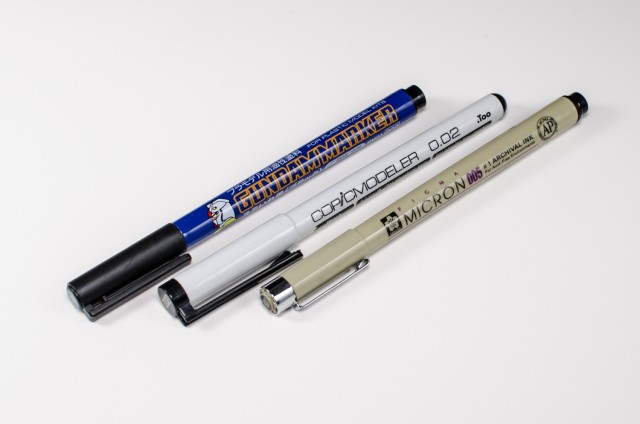
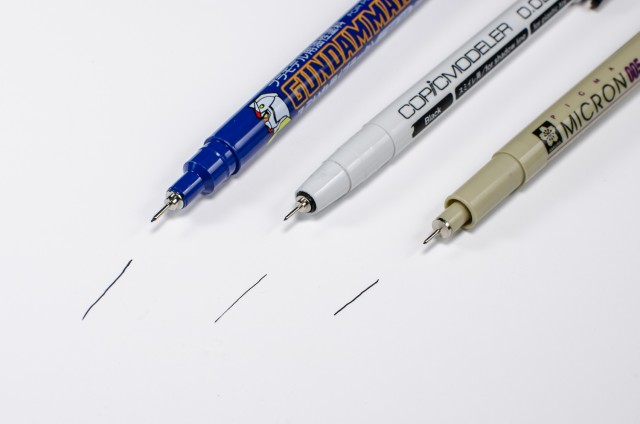
Personally, I find the Copic Modeller 0.02mm panel line markers to be amazing for the job. The super-fine tip is able to reach any crevice it needs to. Furthermore, the ink is really easy to clean up — a simple wipe with an eraser, cloth or even one’s own finger is enough to correct any mistakes. This is a big advantage over Sakura Micron pens, which wasn’t always easy to clean up after a mistake.
Left = GSI Creos Gundam Marker (Fine-tip for panel lines), right = Copic Modeller 0.02mm
For this build I used only the black version of the Copic Modeller, but only because I misplaced warm grey coloured marker. I highly recommend using the grey marker for light coloured parts instead of the black — it’s perfect for giving the lines a subtle and realistic sense of shading.
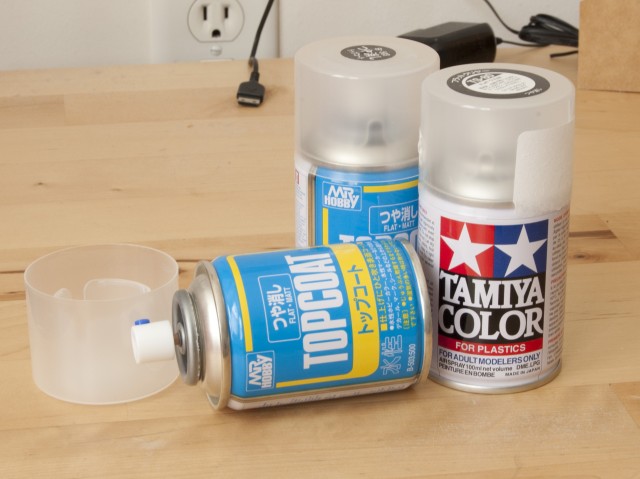
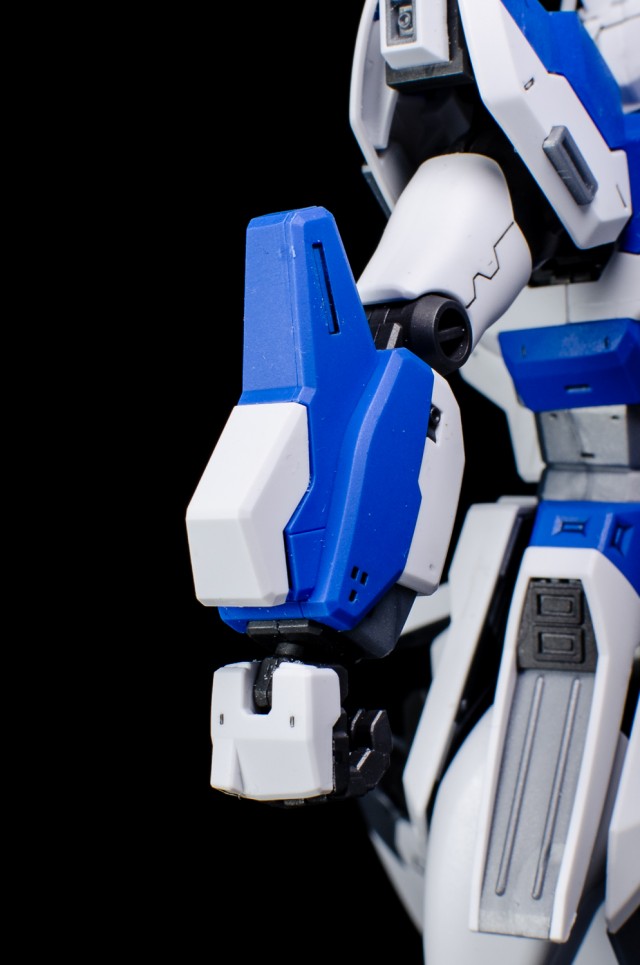
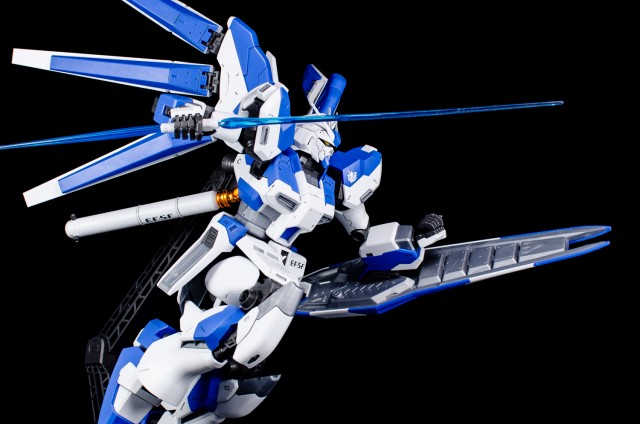
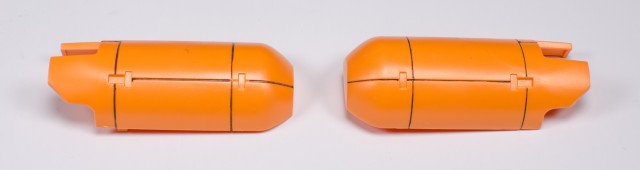
After panel lining and applying the decals, the last step is applying a layer of top coat. For the Hi-Nu, I separated its body parts (head, torso, arms, lower body, funnels, fuel tank, and weapons), laid them out on a flat surface, and sprayed on some Mr. Hobby flat Top Coat. When dry, I flipped the parts over and sprayed again.
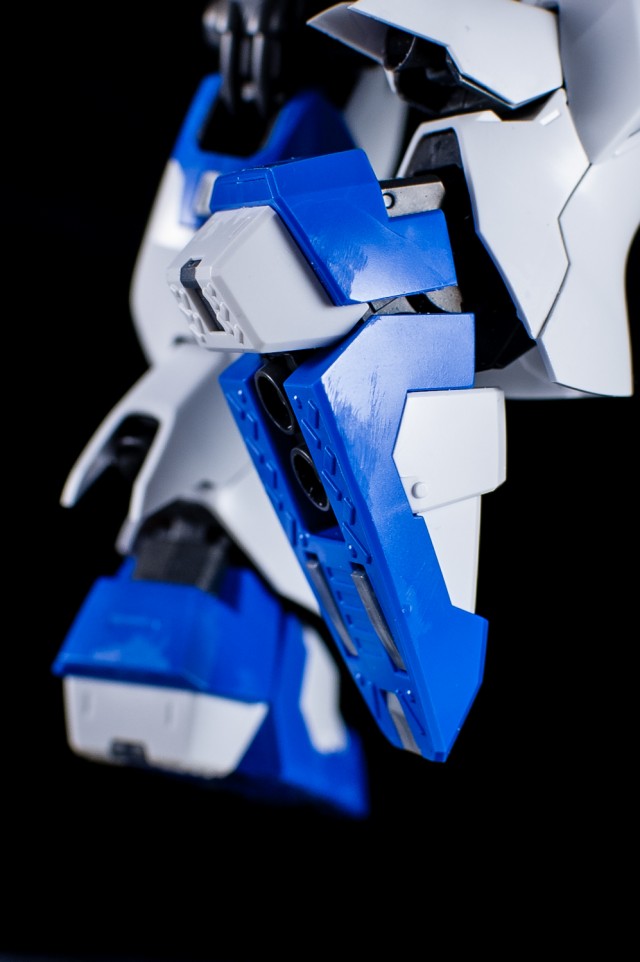
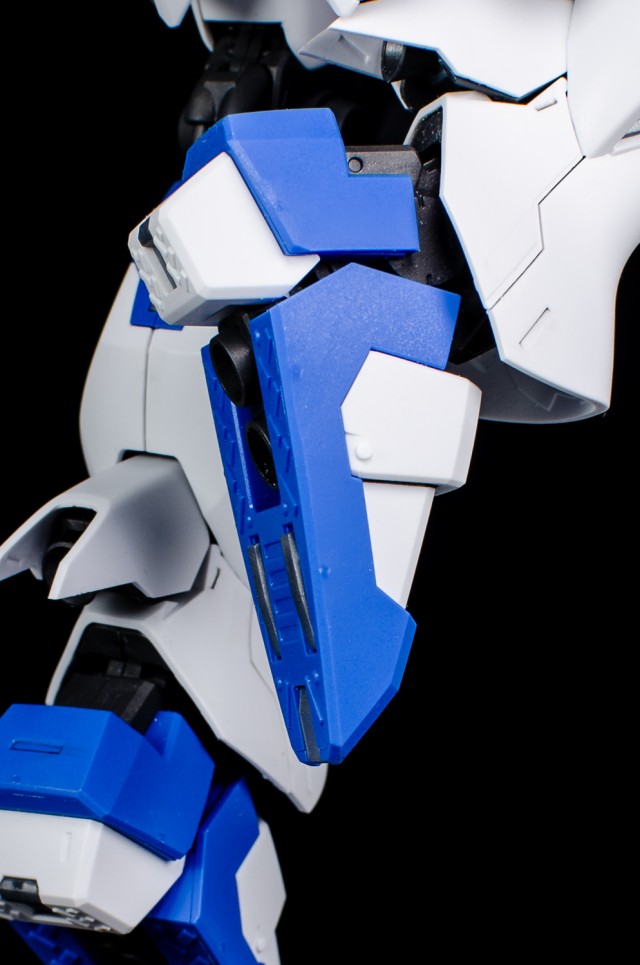
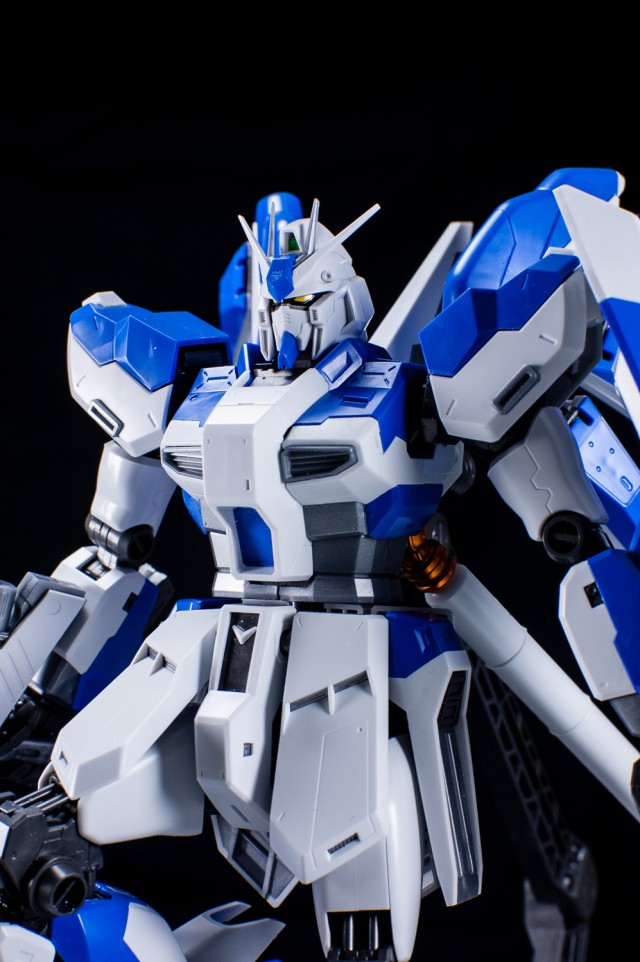
Not only does the flat coating get rid of the plastic sheen that gives the model a toy-like appearance, but it also hides most of the flash marks (the point of separation between part and the sprue) and rough surfaces produced when building the kit, as you can see in these photos.
Aside from Mr. Hobby, other companies such as Tamiya and Krylon also make aerosol top coat sprays and can be found in most hobby stores.
A gundam model is like a vessel — the more the builder pours himself into the building process, the more personal value that finished model will have. However, such an investment shouldn’t be an obstacle that discourages people from partaking in the hobby. Whether you’re a newcomer to the hobby who isn’t quite ready to invest in an airbrush and compressor, or just a busy person who just wants to put a model together, this simple method is a great way to get some good results without breaking your wallet or schedule.
For more information on using top coat without paint on plamo kits, check out the guide over at my own blog. If you’re interested in knowing more about this particular model, there’s a post for that too!


TimmyJ
I appreciate your comparison of the different lining pens. Thanks.
Michael
Another option to marker is Tamiya’s panel line accent, except you need to apply it accurately, not like Brian did on his Millenium Falcon
eliram
I enjoy assambling models but hate painting them, so this could really work for me.
ClayCannonII
This was very helpful
amsrcelo
This is really helpful, especially the line marker demonstration and explanation, I am kind of between novice and advanced (pulling more towards novice), and I always use the gundam brand panel marker. I think I’ll see the copic brand if I can find them. Thanks!
yacoob
Where can you get this Copico marker? It seems to be sold out/discontinued at every site that I look at…
Raven
Thanks!
This is very useful 😀 and with this simple steps a beginner can reach a good finish!
Rain
Nice Article!!! This is exactly where my situation is right now, very2 helpful 😀
grayka
Nice! Except that there’s a little problem. Where did you get the Copic Modeler Market? They’re discintinurd/sold out.
Angelizer
the photos are missing
Ryan Gunpla TV
Thanks, we are trying to get them back.
Swalstar
Excellent article, well written!
Can I ask a question? or 4..
If I want to add water slide decals to a kit I’ve built, Syd said that first you should gloss coat it, then you add the decals, and then finally a top coat. Well I have some questions in regard to this:
1) If I am using enamel based paints for panel lining, which layer should I do this on?
2) I have an airbrush for which I am able to use Humbrol’s Matt Cote product. Does this Matt Cote do the same thing as Mr Hobby’s Top coat?
3) Does gloss coat and top coat impede the joints on the Gunpla kits at all? Would I have to mask off the joints when spraying these?
4) How do Mark Softer and Mark Setter work with this?
I’m guessing the order of application would something like this:
1 – Plastic,
2 – Panel Lining,
3 – Gloss Coat,
4 – Mark Setter,
5 – Decal,
6 – Mark Softer,
7 – Matt Cote/Top Coat
That seems like a lot of layers, even without priming and painting it.. 😐 Please help!
Minh
I can’t answer ur 4’s probably,
also about the steps
but I know 1 thing…
DECAL BEFORE LINING!
Otherwise it would be a mess
LEGO1
No NEVER apply the decals before panel lining! Because when you go to clean any excess ink from around area where you panel lined. The ink that you will wipe away may just catch on the edge of whatever decal that you happened to place nearby.
cipher
it’s amazing how the head look bigger un-line & it looks smaller after lining..
thanks for this
hongkit
i had tried another method of panel lining besides using panel line marker. it turns out not bad as well. That is by sharpen a mechanical pencil tip. and as a by product, the left over lead on the side of the panel line can be served as shades if carefully wipe off! u will kill two birds in a go! haha… unfortunately i had no photos to put up here. Will build one with this method whenever possible and post it up here! 🙂
Charlie
Amazing write up, thank you so much. I’m about to embark on my first Gundam build ever, the new Master Grade Jesta. A few questions (many thanks if you have time to answer them):
(1) Do you top coat the inner frame as well or just the armor?
(2) Is it safe to use any of the seam sealing techniques without painting. In other words, if you seal a seam and sand it down smooth, will the flat top coat totally conceal this work?
(3) I plan to try panel lining with a pen as you suggest. While learning, if I feel I did very poorly, is there a safe way to completely remove the panel line and try again?
Ernestotaku
I have a question about the top coat.
Do you think a plastic model / warhammer like matte varnish would work instead of the top coat?
Can you tell me places to buy the top coat and the copic modeller pen?
I use usually Gundam marker extra fine tip and this : http://www.acrylicosvallejo.com/es_ES/modelismo/productos-auxiliares/3
The acrylic varnish matte not shiny
Kelly
Just want to say thank you for making the jump on the copic markers easier for me.
alphun
same with me..! i just wanna say thanks.. i just wondering what is top coating. and when i search google i find this website. and this is so simple and great information.. thx sir!
Nikola LeBel
I’m thinking of picking up the Strike Freedom kit. It has quite a few shiny pieces. What should I do for top coat with such pieces? Wouldn’t a top coat dull them?
scid
surely it would dull them especially the parts of the dragoon that is mechiplated. One choice is by using masking tape to cover them. I usualy do this method when top coating my aeroplane model that the cockpit hatch that is clear would be blurred if I topcoat it.
scid
I found using enamel paint or tamiya accent colour for panel lining is much easier and more realistic looks but apparently bandai new Polystyrene cannot withstand the enamel thinner or the Tamiya Accent(already thinned down) itself as it would produce hairline crack and some of the time my parts started to brittle and broke. One thing to avoid this I usually spray gloss coat first and decalling/panel line and then flat coat it.
Gap
How to apply spray can top coat? should I break the kit into pieces or just spray paint the whole assembled kit? never painted nor top coated any kits before.. TIA