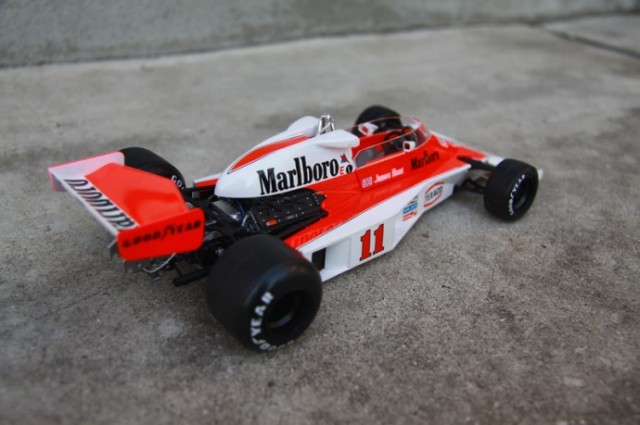
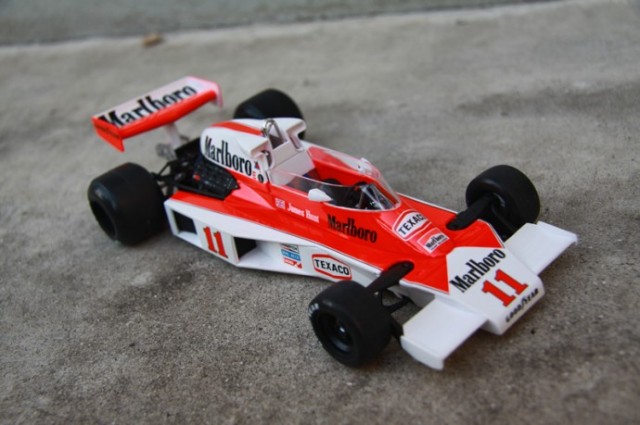
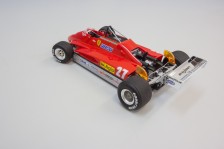
The McLaren M23 1976 Grand Prix car was driven to a World Championship by James Hunt, which was by then already a 3 year-old car. Tamiya has re-released this kitset as a tooling of their late 1970’s release. The kitset has proved very popular among fans and despite being an older tooling the kitset still has that high quality from Tamiya which modelers have all come to expect.
The Kitset
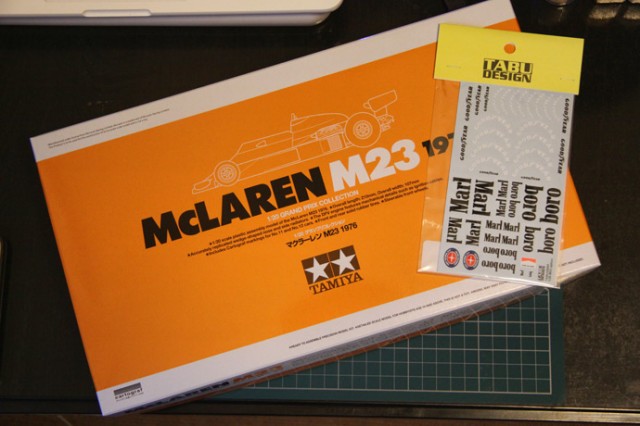
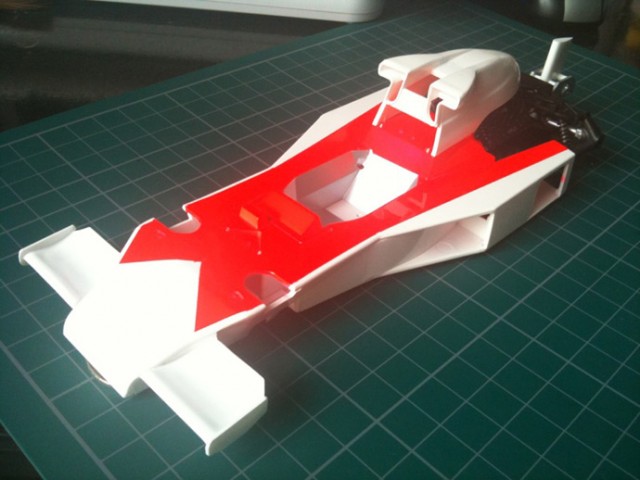
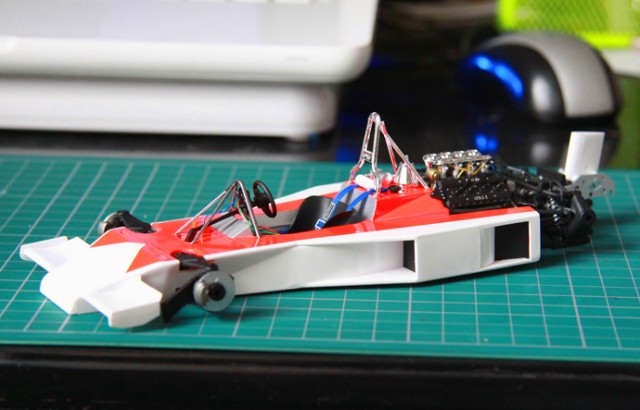
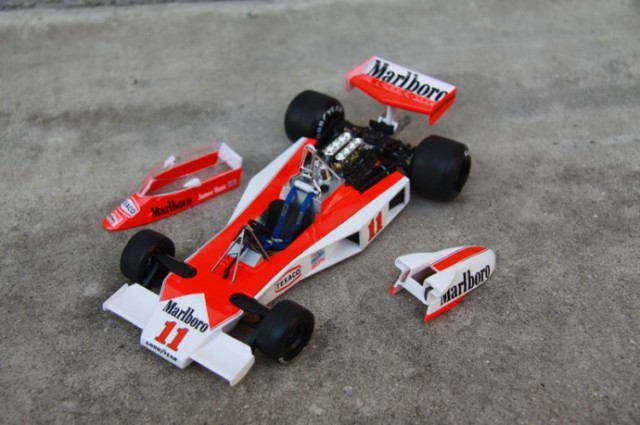
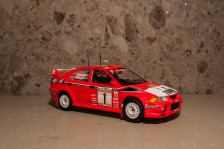
The M23 has it’s wedge-nose realistically recreated, as well as the side-mounted intercoolers. Parts are moulded in white, gray, black, and chrome. The monocoque is a 2-piece construction (top and bottom) as well as the engine cowling. The M23’s decals are made by Cartograf and have nice thin borders and are strong reducing the chances of ripping upon application.
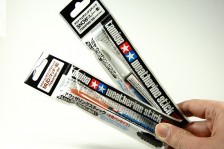
The following paints are recommended for building: TS26, TS36, X-18, X-11
Note: For this particular kitset aftermarket TABU Designs decals were used in conjunction with the kitset-supplied decals.
TABU M23 Option Decals: http://www.hlj.com/product/TAB20085
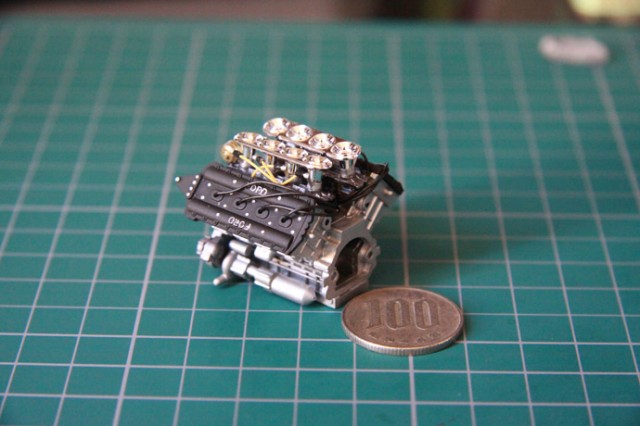
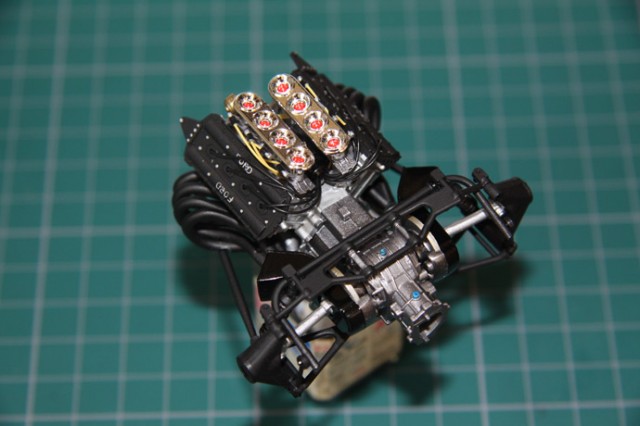
The Engine & Suspension
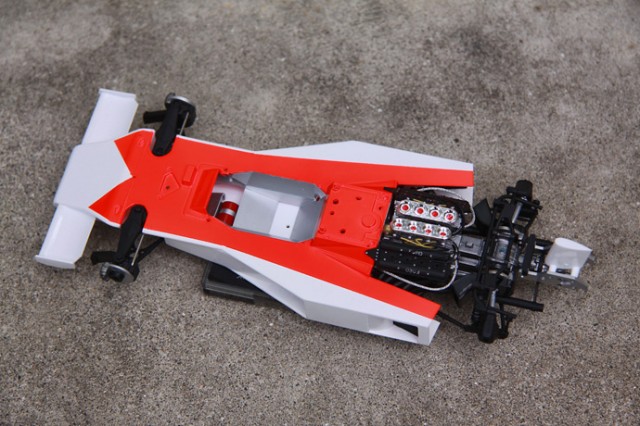
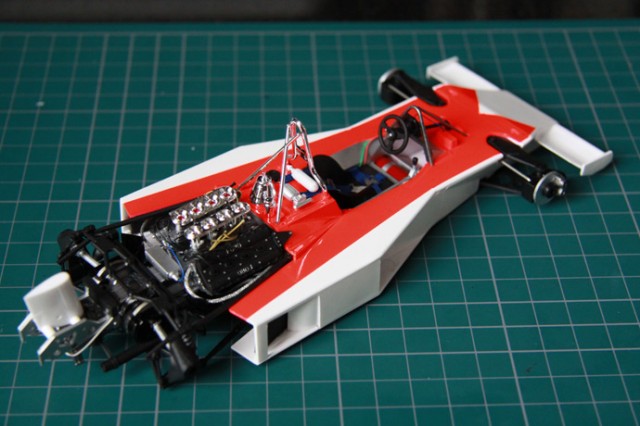
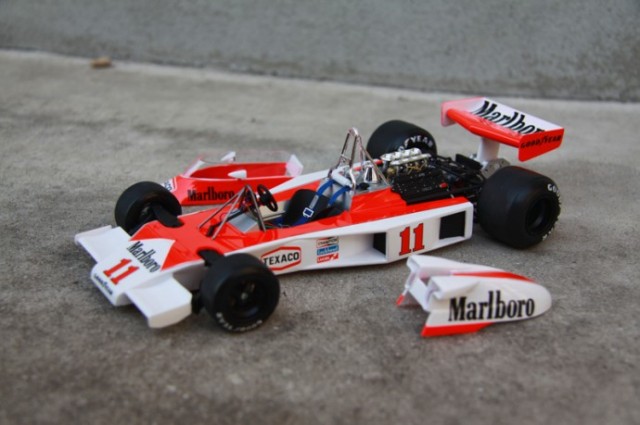
The engine is a Ford DFV Cosworth used by many teams throughout the 1970’s. It fitted together very well, with the classic F1 machines having more open fairings it is good as the engine is highly detailed and can easily be displayed with the engine cowl off. I added some additional wiring, the black cord on the model is supplied in the kitset, however the yellow was optional added by myself for a little more realism.
There were no real problems throughout the construction, the only small issue which presented itself was the exhaust pipes. It is important to ensure they are constructed exactly like the instructions require or clearance with the suspension will be compromised.
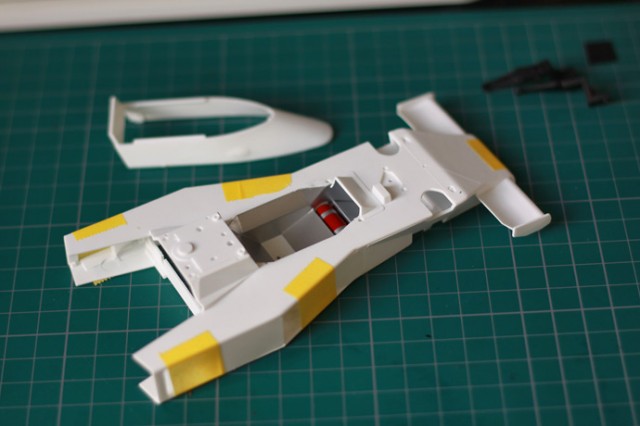
The Monocoque
This is moulded as a 2-piece construction. Installation of the fire extinguisher is required before bonding of the top and bottom halves. After a small amount of puttying and some filing and sanding to remove the mould and join lines the monocoque was looking very nice. After being shot in primer then masked and shot in TS-26 pure white, then with TS-36 fluorescent red. The body contains very slightly raised lines for masking the TS-36 so you don’t need to worry about measuring or needing high tech masking skills. It really is very easy thanks to Tamiya.
All the front aero on this car is all included already constructed on the monocoque so everything can be painted at one time.
Joining the engine/transmission to the monocoque
This joining of the two parts is done without screws, it is done via 4 suspension strut braces and one hook-clip on the end of the engine block. Once assembled and joined the bond is very strong and there is no sagging between the engine and monocoque, everything is rigid. When attaching the engine block hook-clip a little force is needed before it will suddenly click into place.
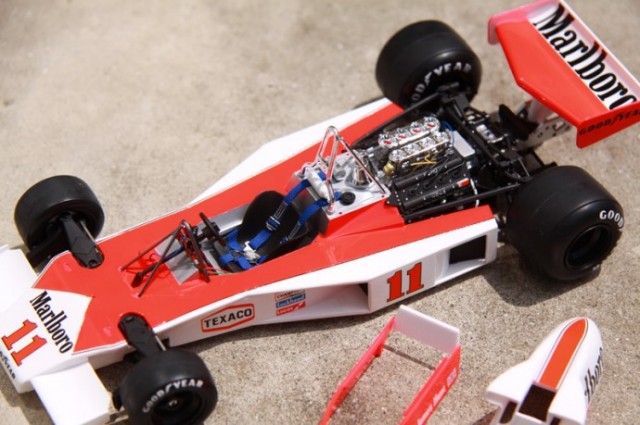
Cockpit
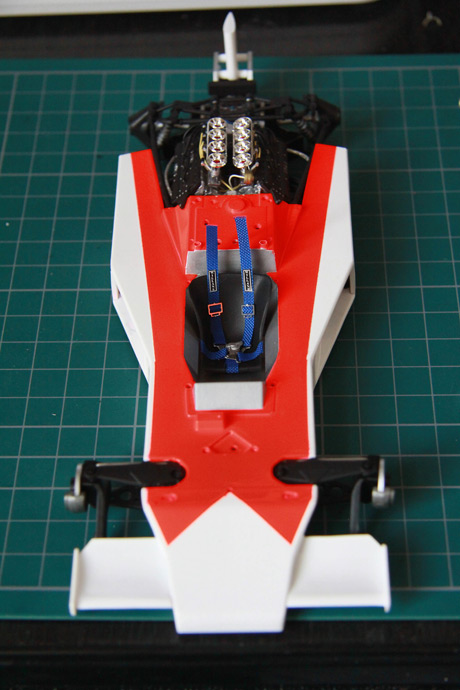
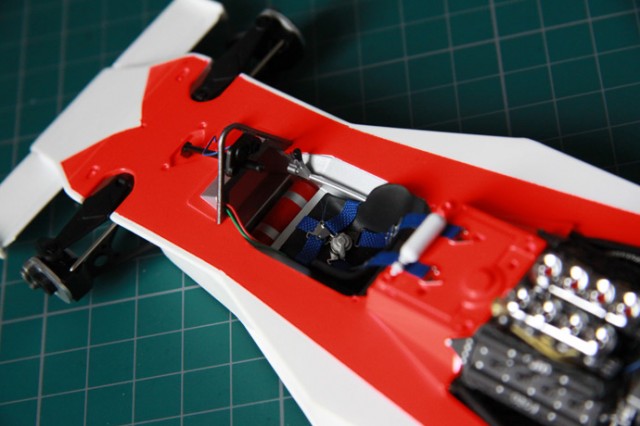
The cockpit is simple yet nicely detailed. The cockpit of the M23 is already a small working space so don’t let the ‘lack’ of parts worry you, once the parts are in you will be more than happy with the working space. The only thing I felt necessary to do was add some small wiring to the rear of the dash for added realism and I also added photoetch belts to the cockpit also. If you prefer to keep things more simple then the kit also supplies excellent seatbelt decals.

Finishing touches
The final details to be added after the cockpit has been completed are the rollbar assembly which is moulded in chrome. Oil coolers and small engine management parts which sit directly behind the cockpit and finally the rear wing assembly and cockpit cowling. A little masking will be required for the wing due to the two-tone colour scheme although this is very simple.
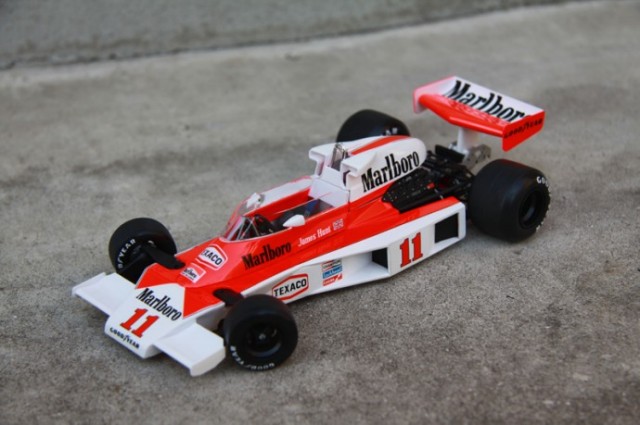
Decals
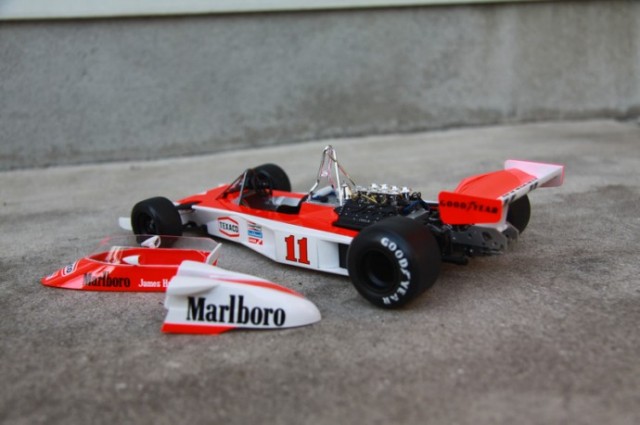
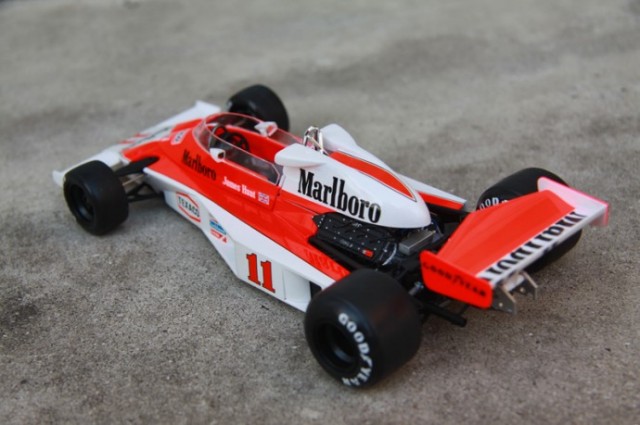
As mentioned earlier, I have used TABU Designs M23 Option Decals in conjunction with the kit supplied markings. The Tobacco sponsor markings from TABU are excellent with an almost non-existent border around the decals for added realism. Both the kit and aftermark decals were excellent to work with and went onto the kitset very well and the finished product is excellent. Decals from TABU have ‘Marlboro’ in 2 pieces so a little time is needed to join each of the decals up on the kit.
Overall impression
I was very happy with the quality of the kitset. Fitment was great, except for the problem solving required with my exhausts there were no major issues at all. Masking and preparing the monocoque was time consuming although once you have completed the tub and it is painted you will be happy with it despite the time required.
The Marlboro M23 is certainly an iconic car for F1 fans, and is regarded as one of the prettiest of the McLaren Formula One cars which I can’t argue with. It makes a great addition to any lineup alongside other classic F1 models available in 1/20 scale. Not many liveries are as iconic as the Marlboro one so for any F1 fanatic I put it in the ‘must build’ pile.

SavviMaple
You have done a great job on it! So detailed!
From afar, it looks like the real thing. 🙂
I enjoyed looking through the WIP photos. Thank you for sharing this awesome build!
Marco Santos
Very nice built. I just bought one and I just can´t wait to start it. But first I have a Mp4/4 to finish!
Pete Smith
Very impressive build. ah the days when f1 cars looked like f1 cars ! I’m off to buy an air brush for mine.
Jack
A very nice m23 build! I am making one at the moment. With masking between the white and floresent red did you spray the whole thing white then mask off for the red over it?
I have just finished a Hasegawa Ferrari 312 T2 and I masked up to the guide lines and effectivly reversed masked for the other colour. When the decal is on you can see a raised area between the two colours perhaps where the colors overlapped? I want to avoid this on this model!! Also have you any experience with tamiyas gloss clear, I am having serious issues with clear coates! (using Humbrol Clear through an airbrush at 20psi)
Many thanks.
Jack
RedVal89
I saw this car in the movie “Rush”