Submitted By : Jens Hoepfner
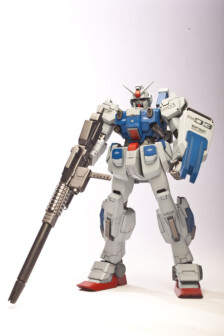
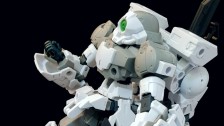
As a Zaku fan, I ordered this old 1994’s 1/144 kit from HobbyLink Japan (HLJ item code: BAN01345), they happened to have one in stock, although stated as ‘out of stock’ back then. Well, finally I managed to build and paint it.
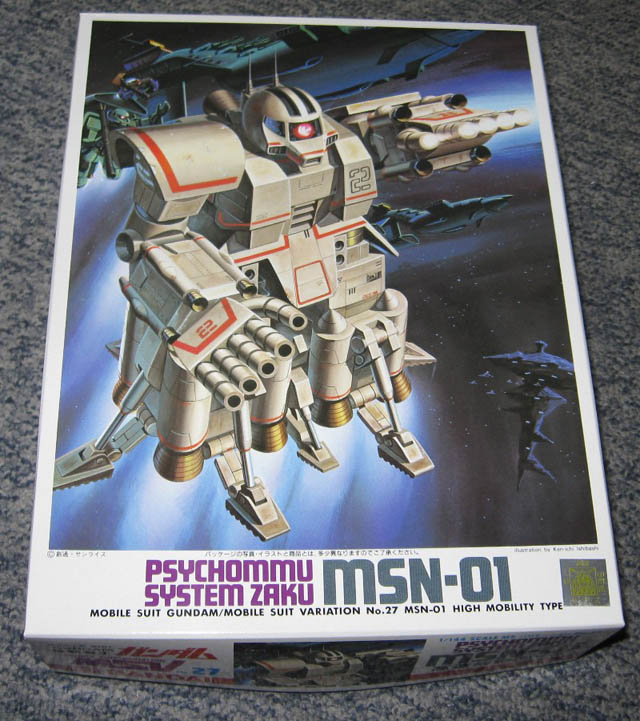
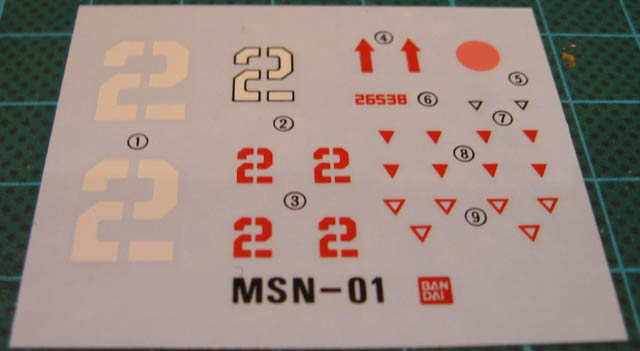
What will you get? Besides the runners with the parts for the Psy System Zaku and the manual, you’ll get a sheet of waterslide decals for some markings, and what I found to be a pleasant surprise, a card with back-story information about the PsyCo Zaku and where to apply decals on the bodies front, and some information about the MAN-03 BrawBro on the back.
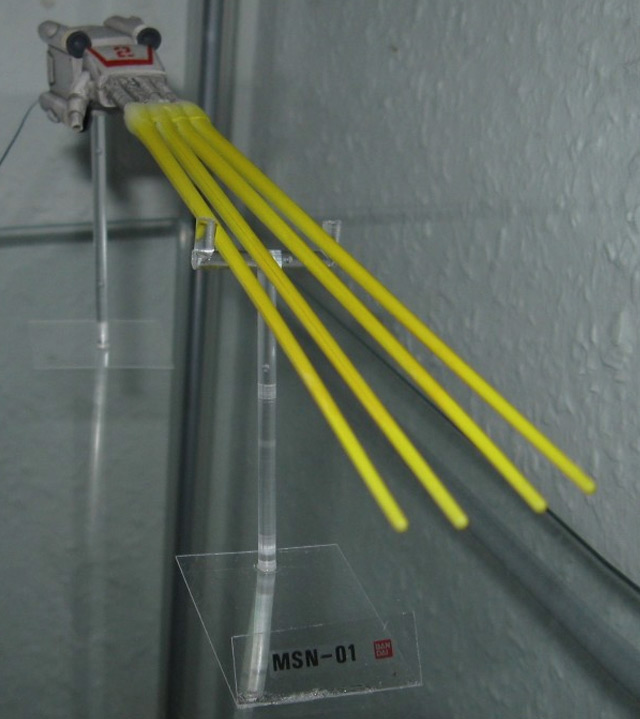
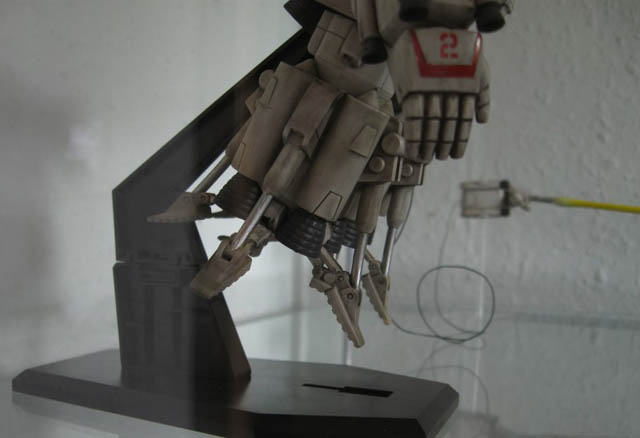
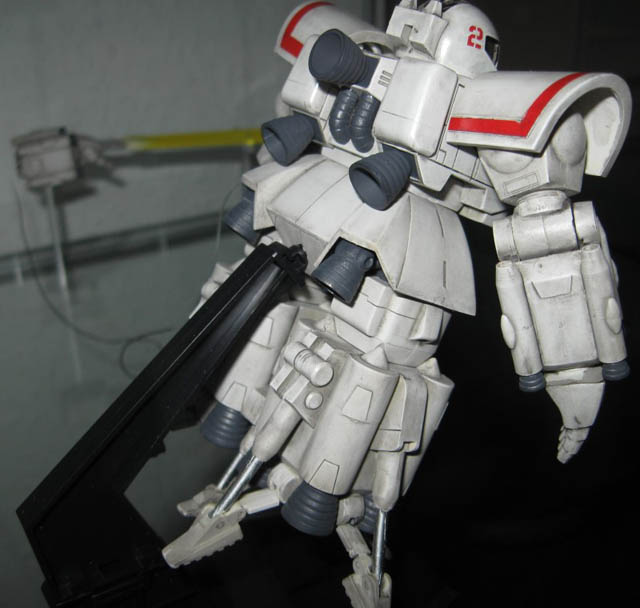
An “old grade” kit doesn’t have snap-fit assembly, only one color (at least for 1/144 scale models), a lot of seam lines, only PS plastic (no PE joints (Polycaps), and not to mention that there is no ABS plastic, which results in loose joints quiet fast. Anyways i removed the seam lines using cement and sandpaper (120, 320, 600 and 600 grit wet), drilled a hole for the action base on the Zaku’s bottom (3mm in diameter), separated the right arm for some action, self made fingers using leftover sprues for the separated arm, glued 4 beam sabers together for beam firing effect, and built some bases for the separated arm. Since removing seam lines always results in some details getting lost. In order to fix this, I cut a line with a design knife (TAM74020), and used a scriber (TAM74091) in order to emphasize the panel line, which got removed during the seam line removal.

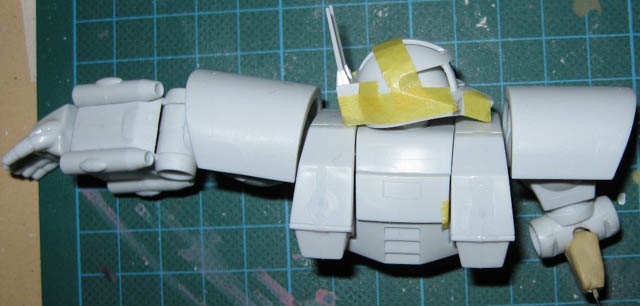
I used Mr. Surfacer 1200 (GNZSF-286) to get rid of some scratches from the sanding process, painted the Zaku with sand color and applied white afterwards, resulting in a slight sand colored white (Revell Aqua Color). I only painted some of the markings with red, applied gloss clear, applied decals (as mentioned above, waterslide type) used Mr. Mark Softer to improve the results (GNZMS-231), again clear gloss in order to seal the decals, painted the gray areas with tank gray. Finally, painted the head interior with flat black enamel paint, and removed excess black paint with lighter fluid and a q-tip. Applied the decal for the eye, painted the damper with chrome color and dry brushed the thrusters using chrome aswell.
Lastly, I applied black washing. The washing isn’t really satisfying on some locations and my self made parts could have been better. But overall, for my first vintage Gunpla, I’m satisfied with the overall result.


Noah
Awesome! I recently got in to the older kits myself!