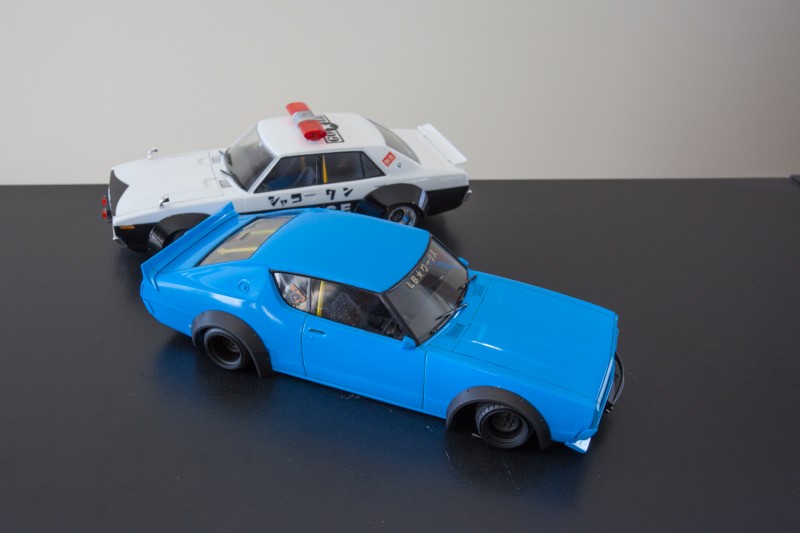
It isn’t too often that my two passions manage to cross paths. As an automotive photographer, getting the opportunity to build one of my friends’ cars in model form is about as good as it gets. When I noticed Aoshima was creating Wataru Kato’s best known ‘shakotan’ classic cars in kitset form I was very keen to check them out in real life. Once I saw the ice-blue 2-door Kenmeri released on HLJ.com I knew this was one project I just had to tackle. Having seen the car up close in real life, I was interested to see what Aoshima had done with it in model form.
One thing that always gets me about the Aoshima kits is that they don’t compromise on the true spirit of the shakotan era of cars. Low, wide, and brightly colored is the only way with these. Then when it arrived, the kitset was nicely branded in true Aoshima fashion with a splash of Liberty Walk thrown in for good measure.
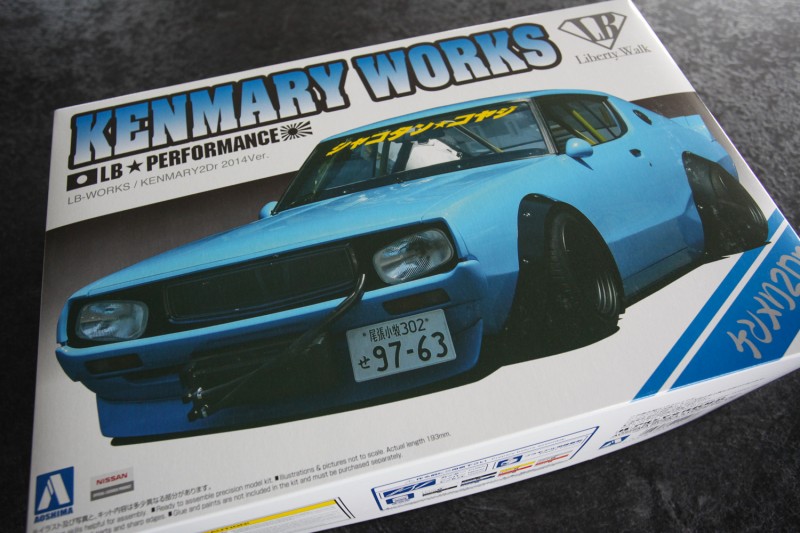
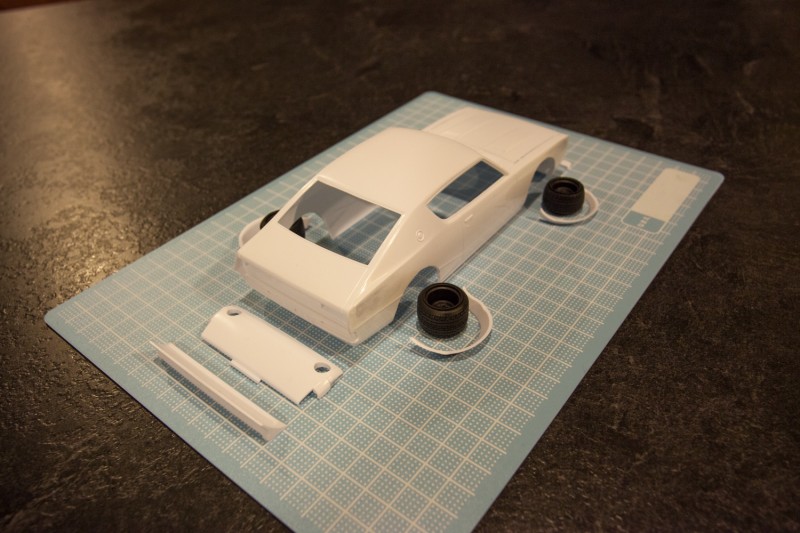
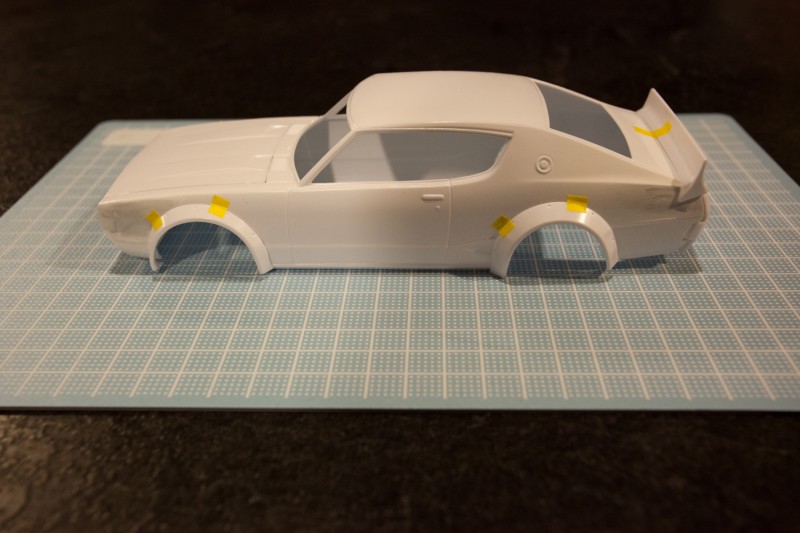
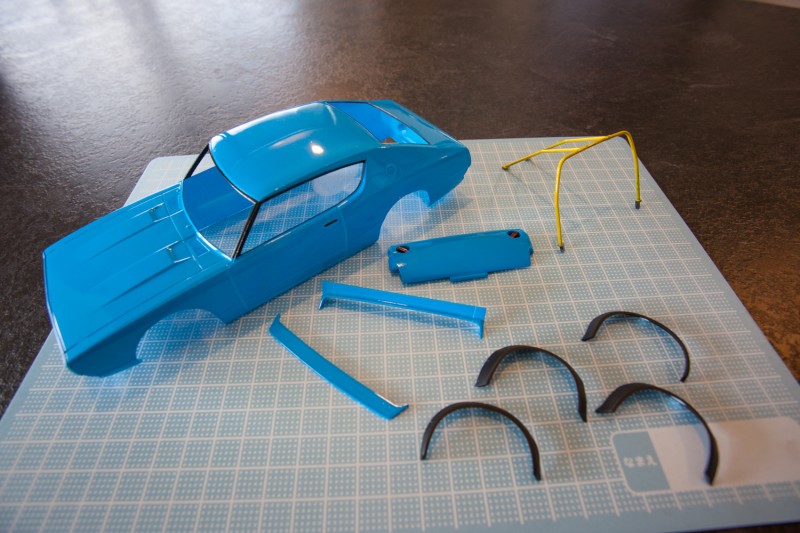
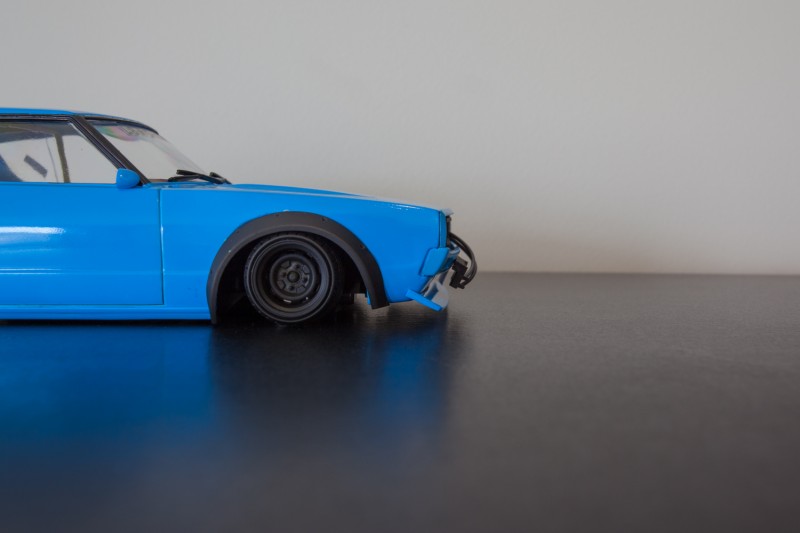
This kit is quite heavily remodelled as the rear of the car is vastly different from anything else in the Aoshima range, and rather than the huge, aggressive bolt-on flares, this one has a smaller ‘baby-sized’ set as per the real 1:1 scale machine.
Chassis and suspension
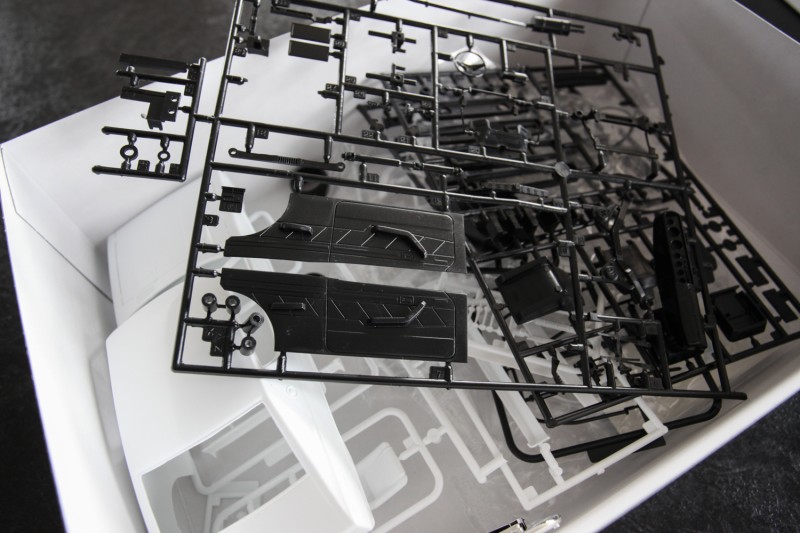
As per normal with any of the Aoshima ‘shakotan’ kitsets I build, I make small changes on the chassis work to ensure that low stance we all know and love. The parts are nice and clean, and require minimal test fitting to ensure good, clean fitment prior to cementing in place. The chassis is fairly basic, with enough detail to keep you happy but simplistic enough due to 90% of it not being seen once the kitset is complete.
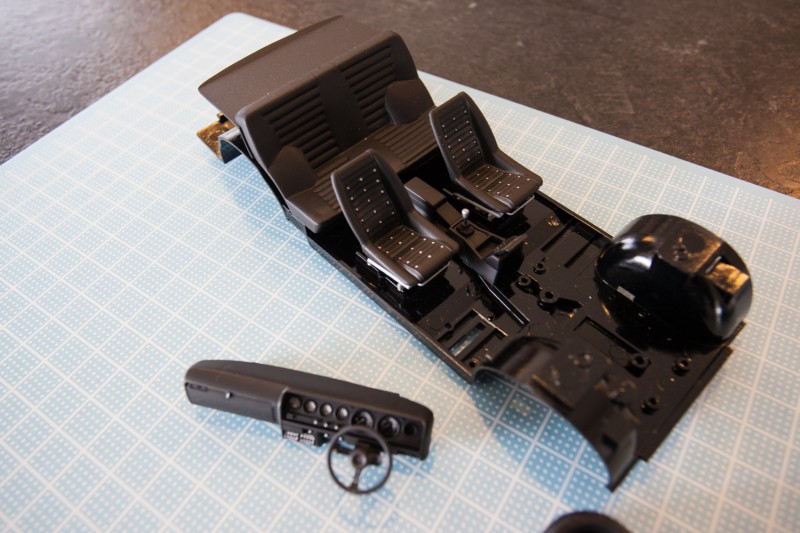
Rear seats and parcel tray are pictured with the chassis prior to painting.
Interior
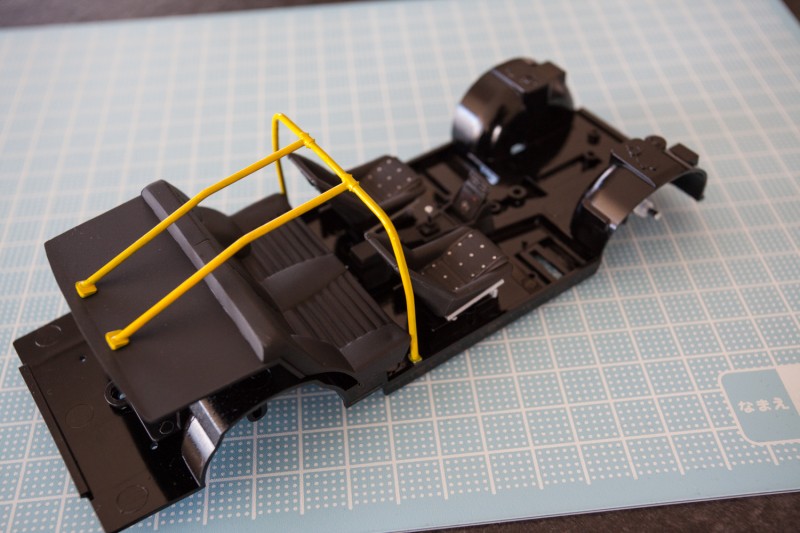
The interior of this kitset is a little confusing at first as there are 5 seats present; be sure you look for the classic style of bucket seat specially tooled for this kitset. Kato-san has heavily modified this Kenmeri, and Aoshima has accommodated that to ensure accuracy flows through. Key parts of this model’s interior are the classic bucket seats, an internal amplifier, a custom racing steering wheel, and a yellow rollcage. The remainder of the pieces are stock as per the original Kenmeri kitset. If you plan on building any other cars, this kit includes all the original parts which go great in the spare parts box!

Body
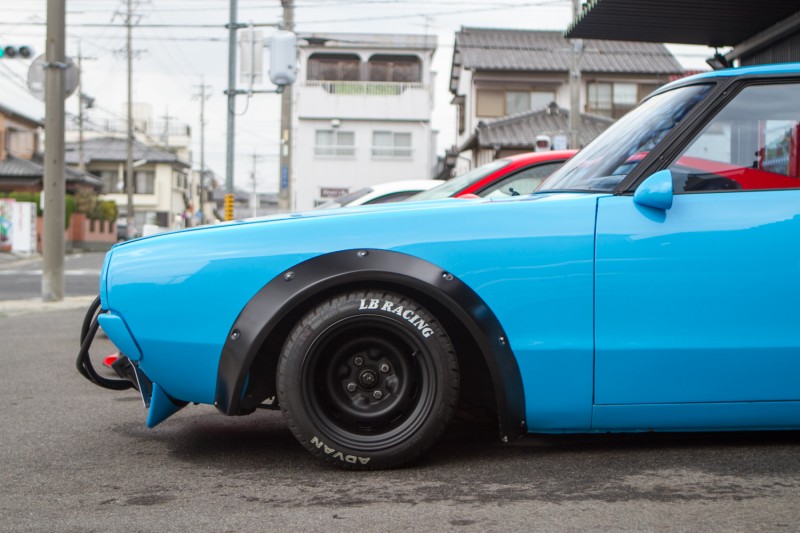
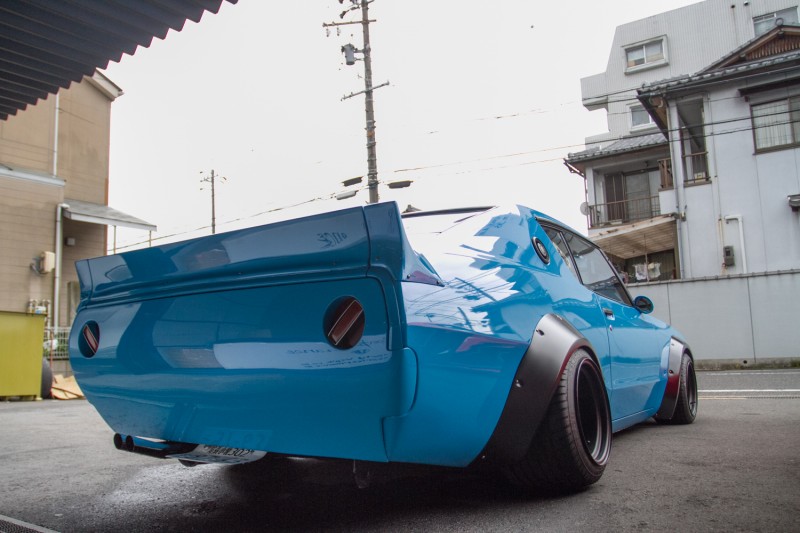
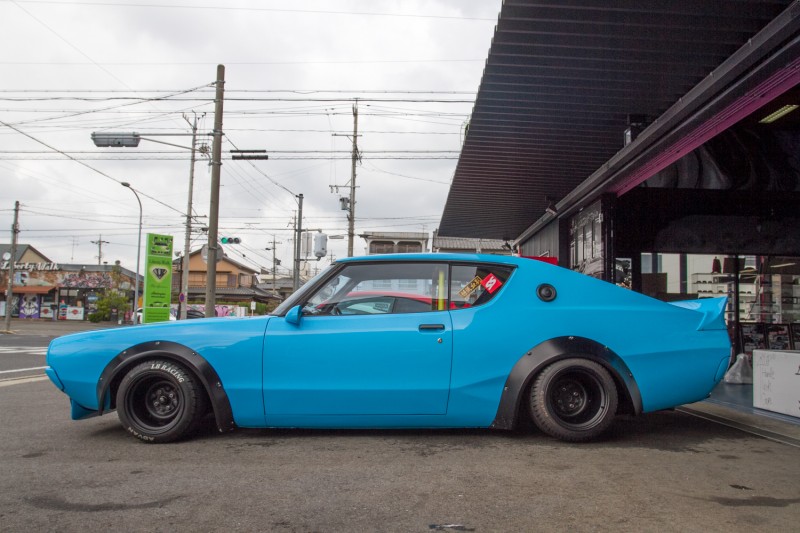
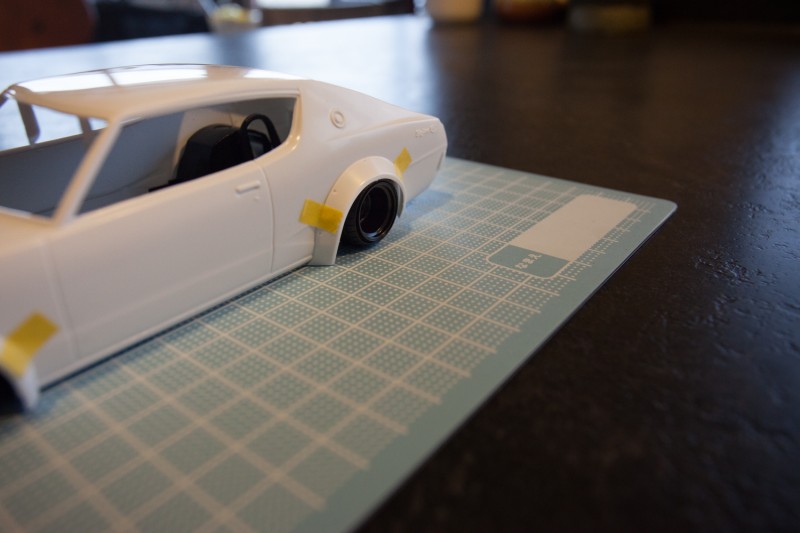
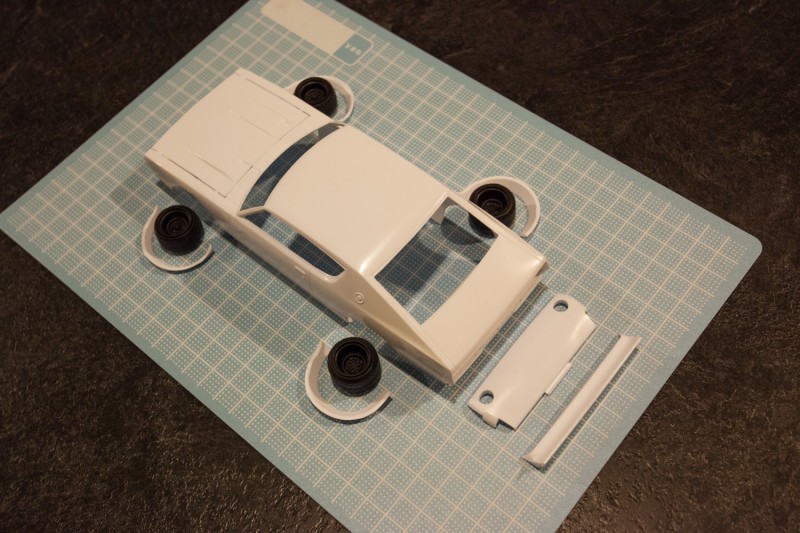
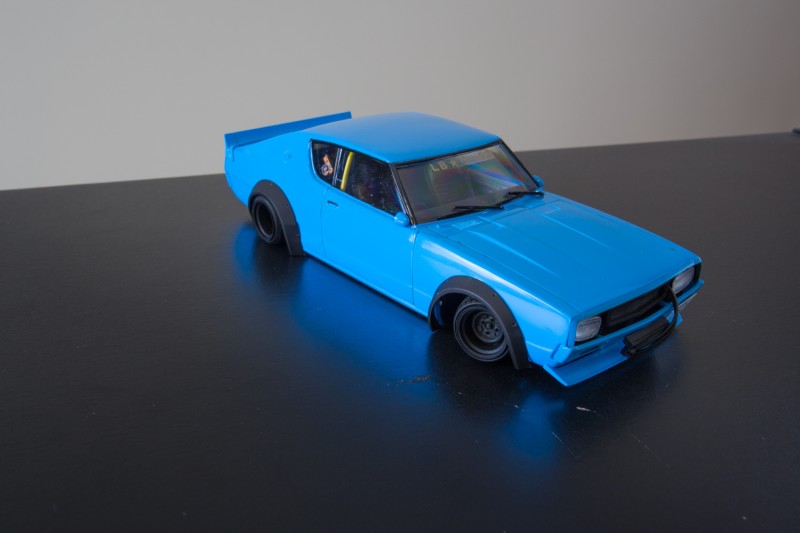
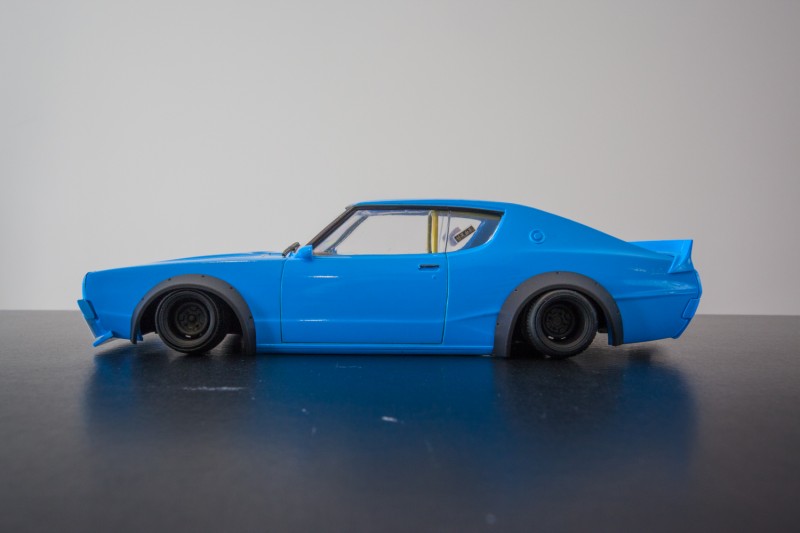
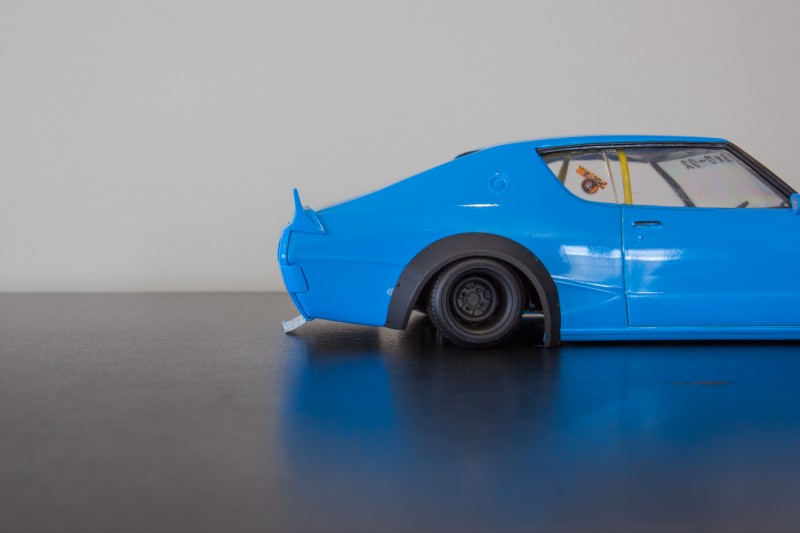
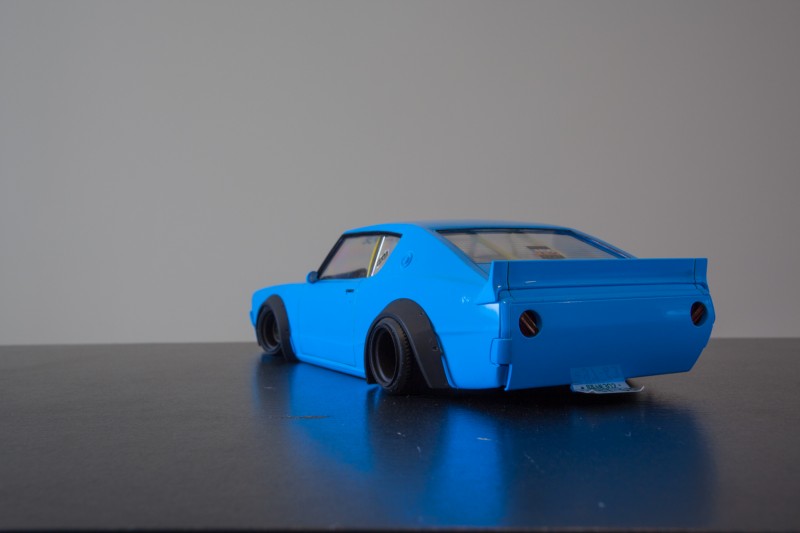
The key area of any classic car build is the bodywork. Aggressive aero, fenders, ducktail wings, and slanted ‘angry’ headlights make these cars unlike any others on the road. The fender area on this kit needs a little cutting back, just like the real car to ensure the wheels tuck underneath nicely, and that the flares line up with the tires. Aoshima provides a side profile drawing showing you exactly how much to cut off, and where. I added the smoothed rear to the body, and then proceeded to ensure every part of the body lined up and sat smooth prior to painting. The ice-blue color Kato-san has chosen for the car really pops with the deep-dished steelie wheels.
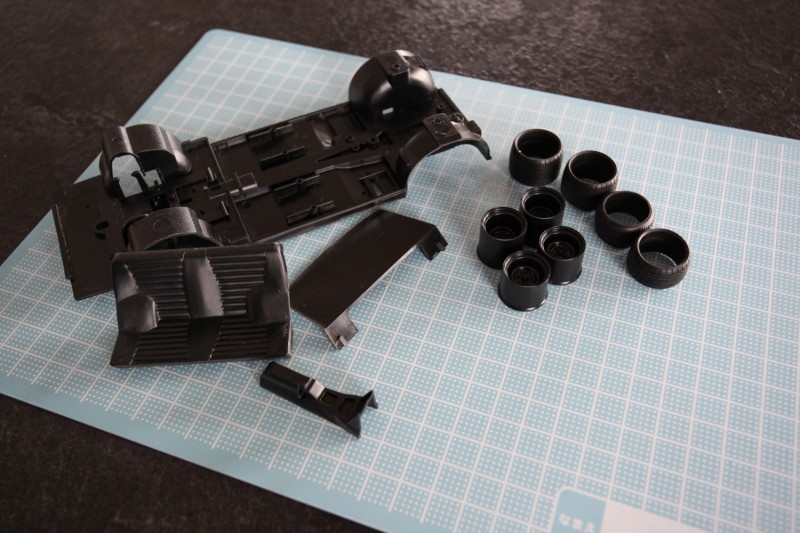
Wheels and tires
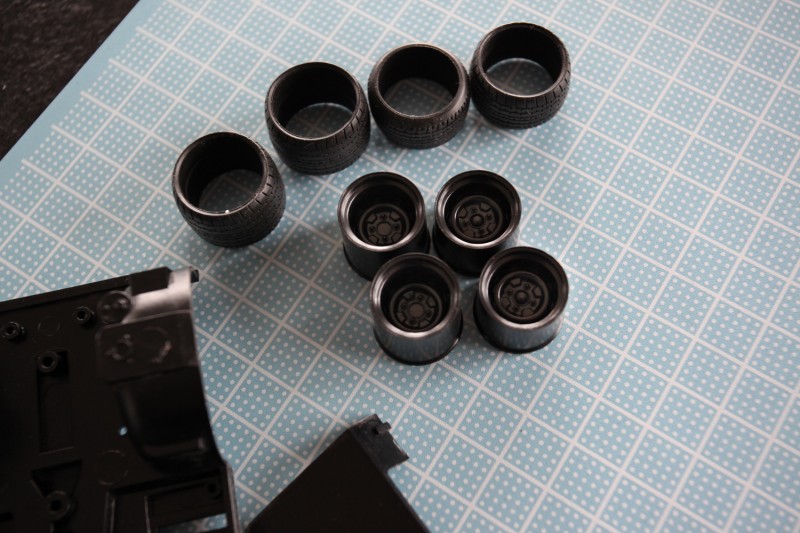
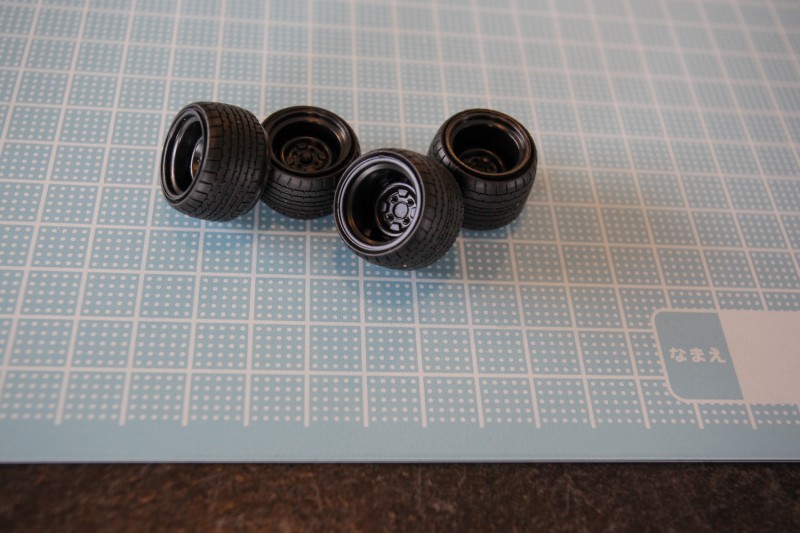
This Kenmeri, for a while, looks a little odd. The reason is that it runs the smaller-sized 15″ wheels unlike most of the other shakotan machines. Aoshima has produced some superbly replicated ‘hippari’ stretch tires to go with everything which look very nice when tucked up under the guards. The wheels lack a bit of detail as they are only ‘steelies’ and of course being painted black they don’t pop as much as one might like. Be sure to add a little detail to wheel nuts, and shadows to help them stand out.
The finished product
Once all your bodywork has been completed and mated to the chassis this is how my kitset looked. Overall I would rate the model a solid 8 out of 10. It looks great, went together nicely, and offers options to build it just as you wish to. An era of automotive tuning goneby, yet not forgotten, thanks to Aoshima!


Ranen
What paint did you use?
Aaron.Mai
Hi Ranen, I used a Tamiya Spray (TS23) Light blue. 🙂
Samwell Vong
what glue do you use for gluing the flares on? i see that you glue after you paint the car, does that not eat the paint?